Starting a blog in 2026 is easier than ever. However, most beginners still make the same mistakes that lead to abandoned blogs within the first three months.
The difference between blogs that grow and blogs that die is not talent. It is not even the niche. It is having the right system from day one. Furthermore, AI tools have made that system accessible to anyone, regardless of writing experience, technical skills, or budget.
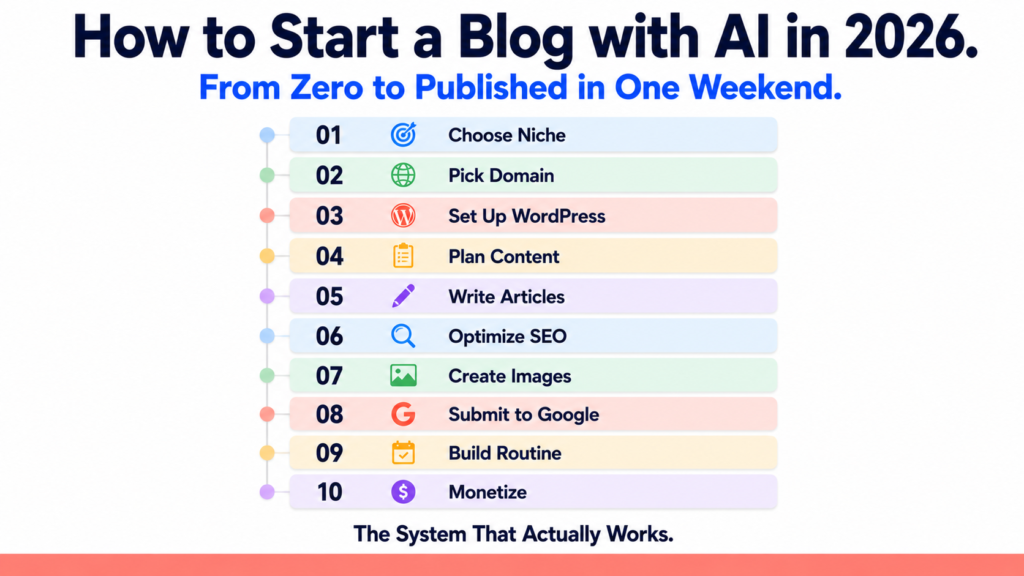
This guide walks you through every step of starting a blog with AI, from choosing your niche to publishing your first article and getting it found on Google. Follow these steps in order and you will have a live, properly set up blog ready to grow.
Before You Start: What You Actually Need
First, let us be clear about the real requirements. You do not need to be a great writer. You do not need technical experience. Furthermore, you do not need a large budget.
Here is the complete list of what you need:
- A niche and target audience (we cover this in Step 1)
- A domain name and hosting, approximately $30 to $50 for the first year
- A WordPress.org installation, free with most hosting plans
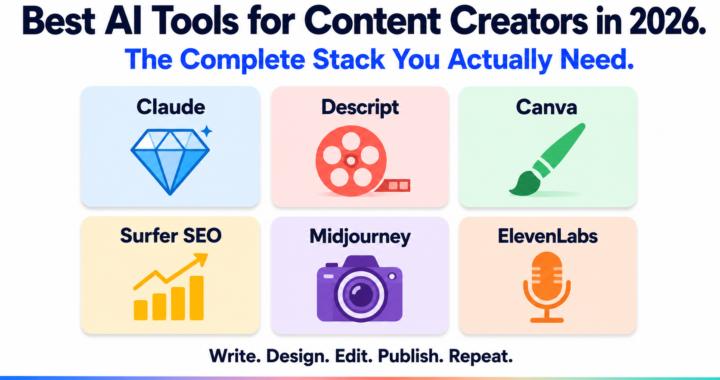
- ChatGPT or Claude, both have free plans
- Yoast SEO plugin for WordPress, free version is enough to start
- Consistency, 3 articles per week minimum for the first 3 months
That is it. Every other tool is optional at the start. Add more as you grow.
Step 1: Choose Your Niche with AI
The biggest mistake new bloggers make is choosing a niche they love without checking whether anyone searches for it. However, AI makes niche research fast and data-driven.
How to choose your niche with AI:
Open ChatGPT or Claude and paste this prompt:
“I want to start a blog to make money online. Ask me 5 questions about my interests, experience, and goals. Then suggest 3 profitable blog niches based on my answers, each with a target audience, 10 article ideas, and 3 monetization paths.”
Answer the questions honestly. The AI will suggest niches that match both your interests and income potential.
The most profitable blog niches in 2026 are:
- AI tools and technology (high affiliate commissions, fast-growing audience)
- Personal finance for beginners (strong ad rates, evergreen content)
- Online business and freelancing (direct-conversion content, high CPM)
- Health and productivity (loyal readers, strong digital product potential)
- Software reviews and comparisons (high affiliate commissions per conversion)
However, profitability alone is not enough. Furthermore, you need to choose a niche you can write about consistently for at least 12 months. Therefore, combine interest with income potential when making your decision.
Step 2: Choose a Domain Name and Hosting
Your domain name is your blog’s permanent address. Getting this right matters. However, do not spend more than 30 minutes on this decision. Too many people never start because they get stuck here.
Domain name rules:
- Keep it short, under 15 characters if possible
- Use a .com extension whenever available
- Avoid hyphens and numbers
- Make it memorable and easy to spell
How to use AI for domain name ideas:
Ask Claude: “Suggest 20 creative, short, memorable domain name ideas for a blog about [your niche]. Include variations with common words like Hub, Lab, Guide, or Pro.”
For hosting in 2026, reliable options include:
- Hostinger: most affordable option, good performance, easy WordPress installation
- Bluehost: beginner-friendly, slightly higher price
- SiteGround: faster performance, higher price point
Budget approximately $30 to $60 for your first year of hosting and domain combined. Most hosting providers include a free domain for the first year.
Step 3: Set Up WordPress
WordPress powers over 43% of all websites on the internet. Furthermore, it is the best platform for bloggers who want to rank on Google and monetize through affiliate marketing and ads.
How to install WordPress:
Most hosting providers, including Hostinger, offer one-click WordPress installation. After purchasing hosting, look for the “Install WordPress” option in your control panel. The process takes under 5 minutes.
Essential plugins to install immediately:
After installing WordPress, add these four free plugins before doing anything else:
- Yoast SEO for optimizing every article for Google
- Akismet for blocking spam comments automatically
- WP Super Cache for faster page loading
- UpdraftPlus for automatic backups of your blog
Furthermore, choose a clean, fast theme. Astra, GeneratePress, and Kadence are all free, fast, and SEO-friendly options. Avoid heavy, complicated themes that slow your site down.
Step 4: Plan Your Content Strategy with AI
Most bloggers start writing random articles without a plan. Consequently, their content has no structure and Google cannot understand what their blog is about.
Instead, build a topic cluster strategy from day one. This means writing one broad “pillar” article on a main topic and then writing several supporting articles that link back to it.
How to build your content plan with AI:
Ask Perplexity AI: “What are the 20 most searched topics in the [your niche] space in 2026? Include estimated monthly search volumes and whether each topic is beginner, intermediate, or advanced.”
Then ask Claude: “Based on these topics, organize them into 5 content clusters. Each cluster should have one main pillar article title and 4 supporting article titles. The goal is to establish topical authority in [your niche].”
This gives you 25 article ideas organized into a strategic structure before you write a single word.
Step 5: Write Your First Articles with AI
Here is the workflow that produces the best results. Do not ask AI to write your entire article in one go. Instead, follow this 5-step process for every article.
Step 1: Research the topic. Use Perplexity AI to find current statistics, expert opinions, and recent developments on your topic. This ensures your article contains accurate, verifiable information.
Step 2: Generate a detailed outline. Ask Claude or ChatGPT:
“Create a detailed outline for a 1,500-word blog article titled ‘[your article title]’ for beginners interested in [your niche]. Include an introduction, 6 main sections with H2 subheadings, bullet points where relevant, and a conclusion with a call to action.”
Step 3: Write section by section. Do not generate the entire article at once. Instead, write each section separately with specific instructions. For example:
“Write the introduction for this article. Make it engaging, under 150 words, and include the phrase ‘[your focus keyword]’ naturally in the first paragraph.”
Step 4: Edit and personalize. This step is the most important. Read every sentence out loud. Fix anything that sounds robotic or generic. Add one specific personal detail, example, or opinion that makes the content feel genuinely human. This editing step is what separates good blogs from bad ones.
Step 5: Format for readability. Short paragraphs of 2 to 3 sentences. Subheadings every 250 to 300 words. Bullet lists for grouped information. Bold text for key terms and important points.
Step 6: Optimize Every Article for SEO
Writing a great article is only half the job. Furthermore, without SEO optimization, your articles will not appear in Google search results regardless of how good they are.
How to optimize your articles with Yoast SEO:
After writing your article, open the Yoast SEO panel at the bottom of your WordPress editor. Then follow these steps:
- Set your focus keyword. This is the main phrase you want the article to rank for. For example, “how to start a blog with AI” for this article.
- Write your SEO title. Include your focus keyword near the beginning. Keep it under 60 characters.
- Write your meta description. This appears under your article title in Google results. Include your focus keyword, summarize the benefit of reading the article, and keep it under 155 characters.
- Check your Yoast scores. Aim for green on both the SEO analysis and readability analysis sections. Orange is acceptable. Red means you need to fix something before publishing.
Additional SEO rules to follow from day one:
- Add at least 2 internal links to other articles on your blog in every new article
- Add at least 1 external link to a credible source
- Use your focus keyword in at least one H2 subheading
- Add alt text to every image you upload
Step 7: Create Your Featured Images
Every article needs a featured image. Moreover, your images should look consistent across all your articles to build a recognizable brand identity.
How to create consistent featured images:
Use Canva to create a reusable template for your blog. Set your brand colors, choose a clean font, and save the template. Then create each new featured image by updating the text in the same template.
Alternatively, use ChatGPT with DALL-E or Ideogram for AI-generated featured images. Ideogram is particularly useful because it accurately renders text inside images, which is essential for blog covers.
For every image you upload, always add:
- Alt text: a description of the image including your focus keyword
- Image title: a clean, keyword-rich file name using hyphens between words
Step 8: Submit Your Blog to Google
Publishing articles is not enough. Furthermore, Google needs to know your blog exists before it can show your articles in search results.
Set up Google Search Console:
- Go to search.google.com/search-console
- Add your website and verify ownership through Yoast SEO
- Submit your sitemap at yourdomain.com/sitemap.xml
- For every new article you publish, paste the URL into Search Console and click “Request Indexing”
This process ensures Google discovers your content as quickly as possible. Without this step, new articles can take weeks to appear in search results.
Step 9: Build Your Publishing Routine
Consistency is the single most important factor in blog growth. However, most beginners start strong and then slow down when results do not appear immediately.
The realistic publishing schedule for a new blog:
- Months 1 to 3: 3 articles per week minimum
- Months 4 to 6: 2 to 3 articles per week as you refine quality
- Month 6 onwards: adjust based on what is working according to your Google Analytics data
How to stay consistent with AI:
Use Notion to manage your content calendar. Each week, use Claude or ChatGPT to generate your 3 article titles for the following week. Having your topics decided in advance removes the most common excuse for not publishing.
Furthermore, batch your work. Write all three articles on the same day if possible. Publish them on different days throughout the week to maintain consistent posting frequency.
Step 10: Monetize Your Blog
A blog without a monetization strategy is just a hobby. However, adding affiliate links from day one means you earn from your first visitor rather than waiting until you hit an arbitrary traffic threshold.
The three most reliable monetization methods for new blogs in 2026:
Affiliate marketing: Add affiliate links to the tools and products you mention in your articles. When a reader clicks your link and makes a purchase, you earn a commission. This works from day one, regardless of traffic volume.
Display advertising: Once your blog reaches 10,000 monthly visitors, apply to Mediavine or Raptive for display ads. These networks pay $15 to $40 per 1,000 visitors in the AI and technology niche.
Digital products: Once you have established authority in your niche, create and sell a digital product. A PDF guide, a template pack, or a mini-course priced at $19 to $49 can generate significant income from even a modest audience.
For more detail on monetizing with specific AI tools, read our article on Make Money with Claude and Perplexity AI and our guide to 5 AI Tools You Can Use This Week to Start Earning Online.
Realistic Timeline for a New Blog
Here is what to expect at each stage. These are honest estimates based on consistent publishing of 3 quality articles per week.
Month 1 to 2: Setup complete, 20 to 25 articles published, minimal traffic. Google is still crawling and evaluating your site. This period feels slow but is essential.
Month 3 to 4: First organic traffic from long-tail keywords. 500 to 2,000 monthly visitors if SEO is done correctly. First affiliate clicks begin appearing.
Month 5 to 6: Traffic growing consistently. 2,000 to 5,000 monthly visitors. First affiliate commissions earned. Patterns emerging in which articles perform best.
Month 7 to 12: Compounding growth as older articles continue ranking. 5,000 to 20,000 monthly visitors possible with consistent effort. Display ad income becoming meaningful.
These timelines assume consistent publishing, proper SEO, and a well-chosen niche. Furthermore, they assume you add value with every article rather than producing thin, generic content.
The Most Common Mistakes to Avoid
Finally, here are the mistakes that derail most new bloggers. Avoid these from day one.
Mistake 1: Choosing a niche that is too broad. “Technology” is not a niche. “AI tools for small business owners” is a niche. The more specific your focus, the faster you build authority.
Mistake 2: Publishing AI content without editing. Raw AI output is generic. Readers and Google both prefer content with a distinctive voice and genuine expertise. Always edit before publishing.
Mistake 3: Ignoring SEO from the start. Every article needs a focus keyword, SEO title, meta description, and internal links. These take 5 extra minutes per article and make an enormous difference over time.
Mistake 4: Giving up before month 4. Almost every successful blogger went through a period where results seemed impossible. Consistency through the slow early months is what separates blogs that succeed from those that disappear.
The Bottom Line
Starting a blog with AI in 2026 is genuinely accessible to anyone. The tools handle the most difficult parts of the process, research, writing, optimization, and even image creation. However, the human elements, choosing a niche, adding your perspective, and showing up consistently, are still entirely yours to provide.
Follow this guide step by step. Do not skip the SEO setup. Do not publish without editing. And do not stop when results are slow in the first two months.
The blogs that exist in month 12 are the ones that succeed. Start today.